Do you struggle to fit all of your images into the storage space available on your Mac? Image compressors will help you to reduce the file size of your image without compromising on its quality. Here I will show you how to compress your images on Mac.
How Does Image Compression Work on Mac
You can reduce the size of images on Mac without losing much quality. Macs can compress images in two ways: lossless or lossy, depending on the method. Lossless compression reduces the size of the image without affecting its quality.
For lossy, the quality of an image can be affected by compression, but it may not be noticeable. The majority of these methods are designed to allow for the reduction of image file sizes on Macs without a lot of quality loss.
How to compress photos on Mac using the Preview app
Preview is a great tool for viewing images and compressing photo albums. Here’s how:
- Open the Preview application – Select the image you want to compress.
- Click to open.
You can also right-click a picture and choose – View. - Choose Size Adjustment from the menu bar by clicking Tools.
- Enter a smaller number into the resolution field. Check Resample Image.
You may also check Scaling proportionally. - Click OK after you have checked the size.
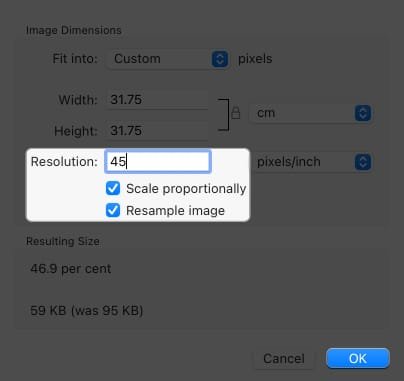
Do not worry if your image is tiny because you entered a low value. Repeat the steps to adjust the resolution to the desired size. The quality will not be affected.
Mac Image Dimensions Change
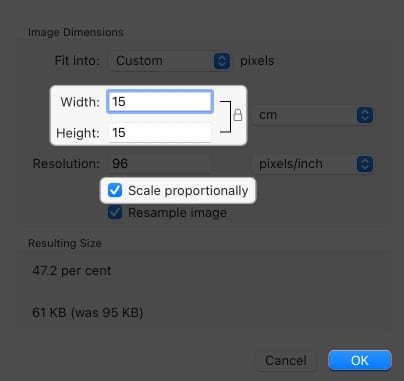
The size of an image is also affected by its dimensions. A 1920 x1080 image has a larger file size than a 720×480 image. You can play with the image dimensions on your Mac. Follow the steps above and then follow:
- Enter a smaller number in the Height and Width fields.
- If you want to make sure that the image size is not affected, check Scale proportionally.
- Click OK after you have selected the new Size.
Export images to another format
Image format also affects the size of an image. JPG/JPEG images are usually smaller than PNG images. You can convert images to reduce file size. There is a tutorial on how to convert HEIC images to JPGs on Mac. For other formats, you can follow these steps.
- Open the image with Preview.
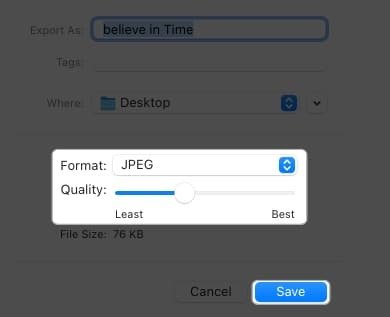
- Click File on the menu bar and select Export.
- Add a name. Select the destination.
- Drag the slider to adjust quality.
- Once you have reached the desired file size, click Save.
Note: Once the image has been saved, you cannot upscale it using the same steps. You must therefore repeat the steps to resize an image on the original file.
Compress images on Mac using Quick Actions
- Click on the image in the Finder, and then right-click to compress it.
- Go to Quick Actions and select Convert Image.
- Choose Format and Image size.
I choose JPEG, and Small according to. - You can select Preserve metadata.
- Convert JPEG.

Follow the same steps on Mac to compress your photo album. Open the Folder. Select all Images. Right-click and follow the steps above.
How to compress a photo album on Mac
- Open the album and select all the photos you want to compress.
- Click on any image and select Open with or Preview.
- Select all images on the left-sidebar by using Command + A.
- Click File on the menu bar and select Export Select Images.
- Select a Location that you want to save, and then click Show options.
- Select the format.
I am selecting JPEG. - Click Select to select the quality.
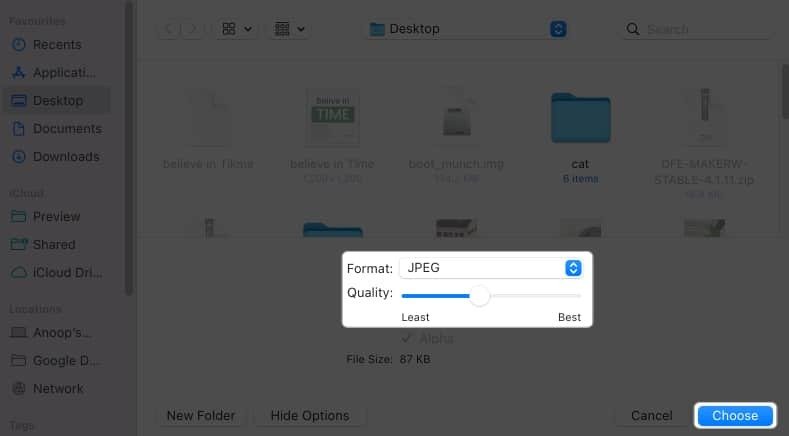
You will see a Preview Window for each image format if you have selected them. Repeat the steps for each image. If you encounter the error “Cannot Export Selected Items”, uncheck images of different formats, and then repeat the process.
Compress images on Mac using Photos application
You can compress photos or albums on Mac using the Photos app. This method has the biggest benefit in that it will reduce your images sizes on iPhone and iPad.
- Launch photos and select the images you want to compress.
- Click File from the menu bar. Choose Export.
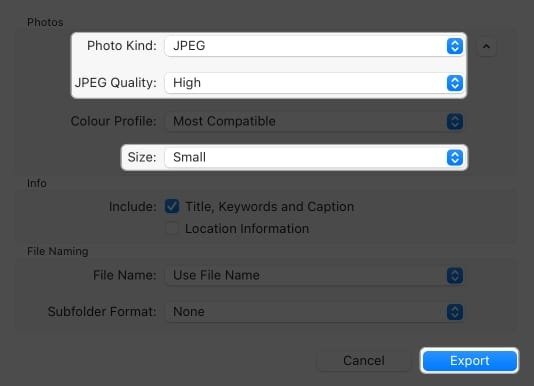
- Select Format in the drop-down list.
- Choose JPEG quality images to reduce size.
I choose High or Small. - Give a file name, and click export.
Compress images with Mac’s Finder
It’s unlikely that anyone would have thought they could compress Mac pictures using the Finder application. This method is useful if you want to share your photos.
- Open Finder and select the Image, or the Album that you want to compress.
- Select Compress from the menu.
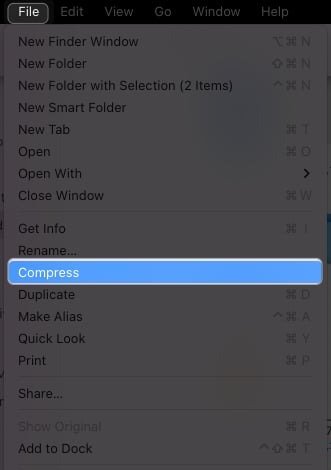
You may need to use a good app to unzip the file since these steps convert images into a zip format. Below I’ve listed some of the best.
Compress images on Mac using third-party tools/apps
Many third-party tools and apps can be used to compress images for Mac. I’ve also written a guide about The Best Image Compressors for Mac. All of these apps are safe and work well.
FAQ
Why can’t my Mac compress files?
Verify that you have taken all the steps necessary to compress files. Enter safe mode if the problem persists.
Store memories without sacrificing storage space!
You can compress images easily on Mac using the steps I’ve listed here. Try all of the default options to see which one suits you. Please do not upload any personal images if you are using third-party software. If you have any questions or concerns, please leave them below.