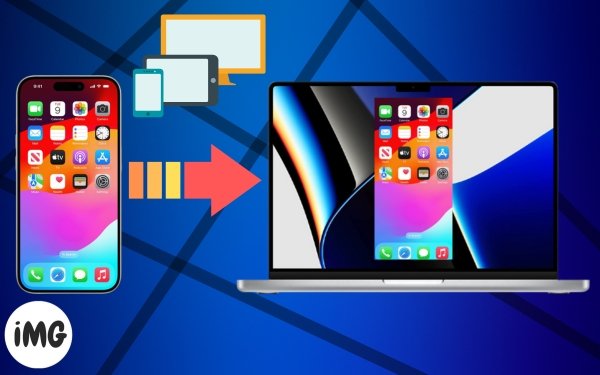
Want to watch your iPhone content on a laptop? The screen mirroring function lets you cast the mirror iPhone or iPad screen onto your Mac or PC. This is great for collaborating or showcasing your gaming achievements. This guide will show you how to cast your iPhone or iPad screen to a Mac, PC or other device.
How to Screen Mirror an iPhone or iPad to a Mac
You can mirror or cast your iPhone’s or iPad’s screen onto your Mac display in two simple and quick ways. Both methods are explained below:
Method 2: Use AirPlay
AirPlay is one of the easiest and most convenient ways to wirelessly mirror or share your iPhone’s or iPad’s screen with a Mac.
- Click on the System settings menu item.
- Select General – Handoff & Airdrop.
- Toggle on AirPlay receiver.
- Open the Control Center on your iPhone or iPad.
- Tap the screen mirroring button.
- Select the Mac device you want to use from the list.
Starts the mirroring session automatically on your Mac.
Note that your iPhone/iPad, and Mac must be connected to the exact same Wi-Fi network. AirPlay will not work if you are connected to a different Wi-Fi network.
All the activity on your iPhone’s or iPad’s screen will appear automatically on your Mac. Follow Steps 3 to 5, and then tap Stop mirroring.
Method 2 – Use QuickTime
You can share or mirror the screen of your iPhone or iPad if you don’t use a strong Wi Fi connection. All you need is a USB cable, QuickTime Player and your Mac. This is how it works:
- Connecting your iPhone or iPad with your Mac via a USB cable.
- Open the QuickTime Player in your Mac.
- Select Create a Screen Recording from the menu bar.
- Click the downward-pointing arrow beside the record button.
- Choose your iPhone or iPad in the list to begin mirroring.
Pro Tip: Click the Record button to create a screen record of your iPhone’s or iPad’s screen on your Mac.
How to Screen Mirror an iPhone or iPad to a PC
Apple devices like iPhones and iPads do not work well with Windows PCs. They cannot begin screen mirroring sessions. Many paid apps, such as AirPlayReceiver that is available for a free trial, can be used to mirror the iPhone or iPad screen on a PC.
Follow these steps to mirror an iPhone or iPad on a PC:
- Visit the App Store to download AirPlayReceiver.
- Click Buy or try the app for free
- Open the AirPlayReceiver application from your PC.
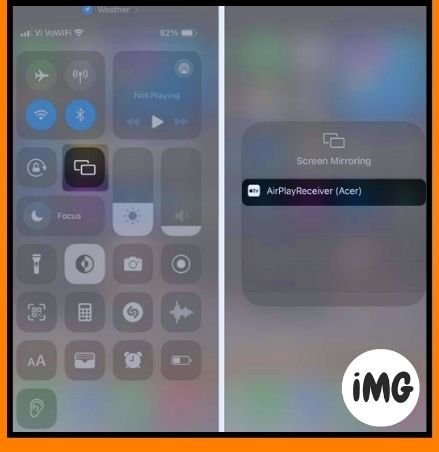
- Open Control Centre on your iPhone or iPad.
- Tap the rectangle Screen Mirroring.
- Select AirPlayReceiver in the list of devices.
Starts the mirroring session automatically on your Mac.
Also Check this: How to change login Password on Mac {2024}
Mirroring your iPhone or iPad on a screen is easy with
This guide will show you how to cast or mirror an iPhone or iPad on a larger screen, whether you use Windows or MacOS. If you have any questions or suggestions please leave them in the comment section.
