The menu bar is an important part of a MacBook’s interface, pin items to the menu bar and it appears as a thin strip at the top of the screen. It provides access to many system and application operations, thus mastering this tab may increase productivity and optimize your workflow. This article will show you how to pin items to your Mac’s pin items to the menu bar.
Benefits of Pinning Items to the Menu Bar
- Quick Access: It allows you to quickly access the items that you want. This eliminates the need for you to search through the files or navigate the menus or launchpads.
- Customization: After you have pinned your apps to the pin items to the menu bar you can rearrange them by pressing the Cmd (⌘) key and using a trackpad or external mice.
- Multitasking: Users can switch quickly between applications by pinning them to the taskbar. This eliminates the need to minimize other windows or close them.
What kind of objects can you pin to the menu bar?
- System Control Items: This includes system controls like Bluetooth, AirDrop and Screen Mirroring.
- Control Centre Modules: Select the intervals at which you want them to appear on the pin items to the menu bar.
- Other Modules: These are items which can be displayed both in the menu bar and Control Center.
- Third party apps:Many applications come with menu bar icons. Find out which menu bar apps are free for Mac by reading our article.
How to Pin Control Center Items to the Mac Menu Bar
- Navigate to the Control Center and choose an item from the window.
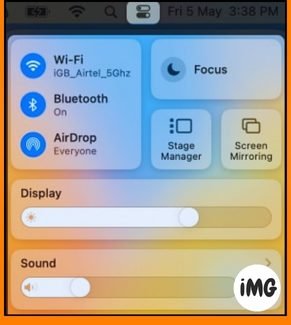
- Drag and drop the desired item to the menu bar.
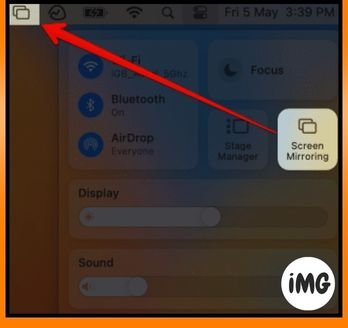
By pressing the command key (⌘) and dragging the icons, you can change the position of the additional icons to suit your needs.
How to Add Items to the Menu Bar on macOS Ventura or later
- In the menu bar, click the Apple logo () and then select System Settings.

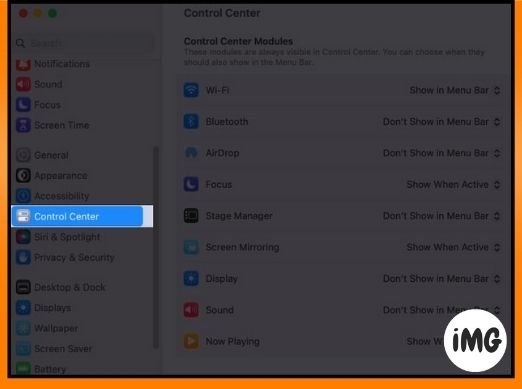
- Navigate to the Control Center.
Follow the steps below, depending on the module and features you wish to display.
Include Control Center Modules in the menu bar
Click on the drop-down menu next to the tab to select your preferred choice. The possible choices include:
- Regarding AirDrop, Wi-Fi, Bluetooth, & Stage Manager: Show in Menu Bar; Do not show in Menu Bar.
- Other modules: Show Always in Menu Bar, Display When Active, Don’t Show in Menu Bar.
If you change your mind and want to remove items from the menu bar, just select Don’t Show in Menu Bar from the dropdown menu.
Other modules
To display modules such as Accessibility Shortcut, Battery, and others in the pin items to the menu bar, choose the button next to Show in Menu Bar.
To remove these choices from the menu bar, just flip off the button next to each function.
Menu Bar Only
To show Spotlight, Siri, or Time Machine in the menu bar, pick the Show in Menu Bar option from the drop-down menu next to each item.
FAQs
On a Mac, how many things can I pin to the menu bar?
Add as many items to the Mac menu bar as you wish. But remember that if you add too many things, the menu bar will get crowded and harder to use.
On a Mac, can I pin anything to the menu bar?
On a Mac, you can’t pin everything to the menu bar. You can only pin apps, files, and certain system choices to the menu bar.
On a Mac, is it possible to change how the things in the menu bar look?
No, you can’t change how the things in the menu bar look on a Mac. How something looks depends on the app or the Mac settings.
Wrap up
I hope the preceding post helps you add things to your Mac menu bar and easily access commonly used items. Don’t forget to share your Mac pin items to the menu bar experiences in the comments below.