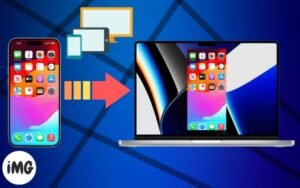
After you’ve completed uploading files, it’s crucial to correctly eject your external drive, SD Card, or other storage device. Data corruption or even drive damage might result from improperly ejecting an external drive. The safe way to remove external USB drives from your Mac is covered in this blog post. It’s a straightforward but essential procedure that prolongs the life of the storage device and guarantees data integrity. There are seven quick and easy ways to get an SD card or external USB off of your Mac. Examine each of them.
Eject an external drive from the desktop on a Mac
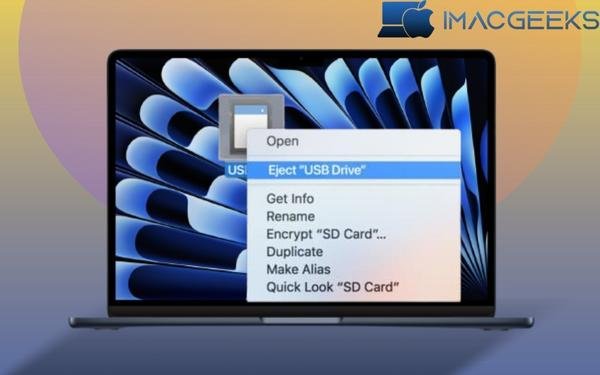
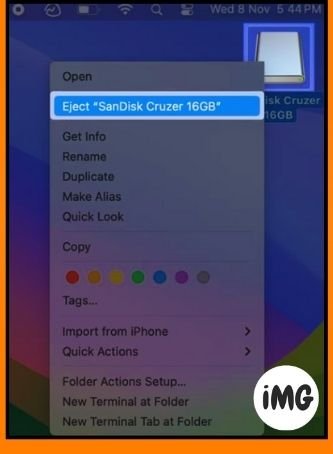
- Click on the Desktop icon.
- Click on the external USB drive, SD Card or right-click and select Eject.
The safest method for removing a USB drive from a Mac is this one. Still, it’s always beneficial to know a few more. Proceed to read.
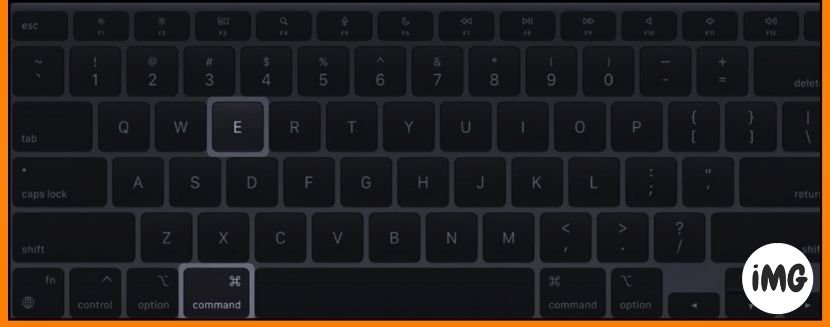
Eject an external the drive using a keyboard shortcut on a Mac
- Choose an external USB or SD Card on the desktop.
- To eject a drive, press Command + E.
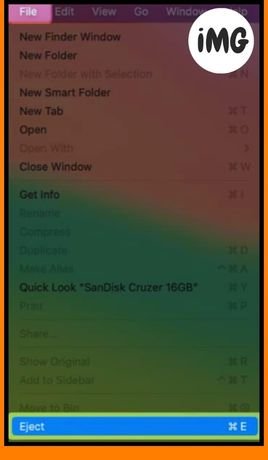
Eject drive from the File menu
- Go to the Desktop in Mac with the Finder open.
- Select Eject from the File menu.
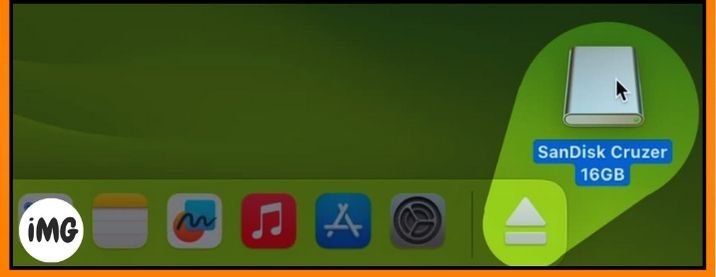
Eject USB the drive using Bin
- Choose an external USB or SD Card on the desktop.
- Drag the USB drive or SD Card into the Bin on Dock.
Eject an external the drive from the Finder sidebar
- Open Finder by clicking the Dock icon on your Mac.
- Click on the triangle icon to eject the external disk in the sidebar.

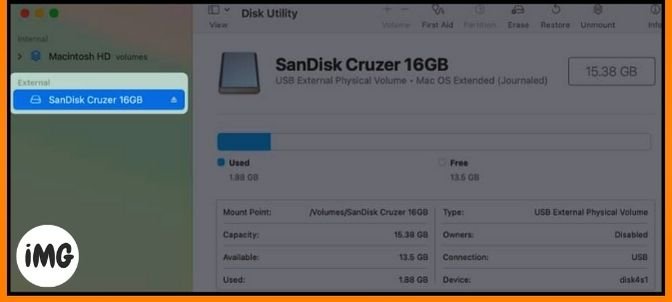
Eject drive use Disk Utility on a Mac
- Launch Disk Utility from the Launchpad on your Mac or Spotlight.
Disk Utility can be found in Finder under Applications and Utilities. - The external disk will be ejected when you click the triangle icon.
Eject an external the drive using the Terminal
- Launchpad or Spotlight can be used to open Terminal on Mac.
You can open Terminal by clicking on Finder, Applications and Utilities. - Press Return on your keyboard to type
diskutil list external.
You will be able to see all external drives attached to your Mac. - Write down the identifier for the external drive that you wish to eject.
- Press Return to return the
diskutil eject ID.
To eject the external drive, replace (ID) with its identifier.

FAQs
Why should you remove an external USB device before removing the drive?
Ejecting an external USB drive prior to removal lowers the possibility of file errors by ending open operations utilizing the drive, preserves disk health to avoid wear and damage, and assures data integrity by finishing current transfers.
What can I do if the USB drive won’t eject?
Check if there are any applications using the USB drive. After closing these applications, you can try ejecting the drive again. If this doesn’t work, try restarting your Mac. If it persists, your drive could be damaged or corrupt.
Why can’t I find my external hard drive on Finder?
There are many reasons you may not be able to locate an external drive connected to your Mac. From a misconfigured Mac to a problem with the drive, there are many possible causes. Refer to our guide to fix external drives not appearing in Finder for the cause.
Wrap up
With the help of this article, you should be able to easily and correctly eject any external USB drives or SD cards that are attached to your Mac, regardless of whether you wish to protect your data from corruption or reduce the possibility of a drive failure. In the comments area below, let us know which way you find to be the most expedient for ejecting external disks on a Mac.